How to check the RAM speed on Windows 11 (updated method)
• 🖊 Felipe Bojorquez • 🏷 troubleshooting
With the deprecation of WMIC in Windows 11 version 25H2, a new command will be needed to check your RAM speed.
When you install new RAM, it doesn’t always run at the fastest speed it’s rated for right out of the box. Many memory kits support XMP (on Intel systems) or DOCP/EXPO (on AMD systems with ASUS motherboards), which are special profiles that let your motherboard unlock the higher advertised speeds of the RAM.
Traditionally, a quick way to confirm whether the overclocked profile was enabled was via the wmic command. However, WMIC has been deprecated for a while and is officially scheduled for removal with the release of Windows 11 25H2 in late 2025.
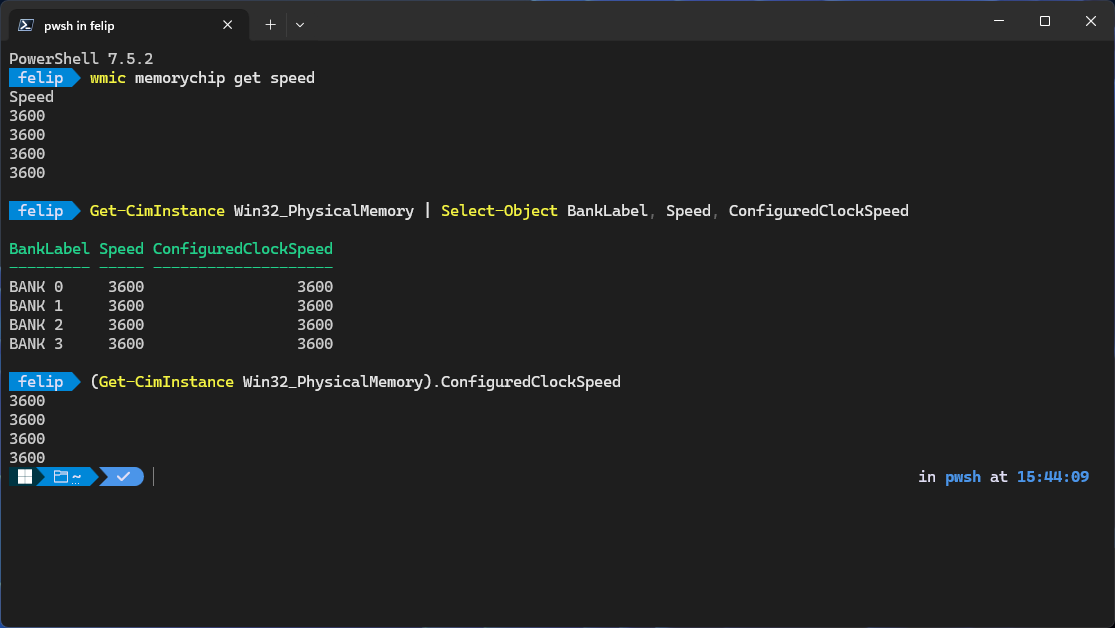
So something like this will no longer work:
wmic memorychip get speed
The modern approach is to use PowerShell instead:
Get-CimInstance Win32_PhysicalMemory | Select-Object BankLabel, Speed, ConfiguredClockSpeed
Which shows:
BankLabel: Physically labeled bank where the memory is located.Speed: The rated maximum of the DIMM.ConfiguredClockSpeed: The configured clock speed of the memory device, in megahertz (MHz) that your system/BIOS actually set it to, which is the real effective RAM speed that Windows is using.
More information about the information available can be found in the Win32_PhysicalMemory reference.
Or to show just the numbers:
(Get-CimInstance Win32_PhysicalMemory).ConfiguredClockSpeed
I tested these commands in Windows 11 24H2 Build 26100. At the moment of this writing, both the old and new commands work so I can confirm I am getting the same output in both.

With this PowerShell command, you can confirm whether your memory is running at its rated speed or if it’s using a default lower value. Useful to do if you are building a PC and configuring it for the first time.